Pet insurance helps protect you from unexpected veterinary expenses, whether your pet needs emergency surgery, diagnostic testing, prescriptions, or ongoing treatment. But to receive fast reimbursement—and avoid claim delays—it’s important to follow the correct steps when filing. This guide walks you through exactly how to file a pet insurance claim successfully, what documents you need, and how to avoid common reasons for denial.
Understanding Pet Insurance Claims
A pet insurance claim is a request asking your insurer to reimburse you for covered veterinary costs. Depending on your policy, coverage may include:
- Accidents and emergencies
- Illnesses
- Chronic or hereditary conditions
- Diagnostic testing and imaging
- Surgery or hospitalization
- Prescription medications
- Specialty or emergency vet visits
Some policies offer add-ons like wellness care or dental coverage, so knowing what’s included helps prevent confusion later.
When You Should File a Pet Insurance Claim
You should file a claim whenever your pet receives a covered service, including:
- Emergency vet visits
- Sudden injury or accident
- Vomiting, diarrhea, fever, or illness
- Chronic condition flare-ups
- Specialist or referral appointments
- Lab tests, X-rays, or ultrasound
- Prescription refills
- Surgeries or scheduled procedures
Even small visits add up—most insurers encourage filing for any covered expense.
Step 1: Review Your Pet Insurance Policy
Before filing, check your policy for:
- Covered conditions and exclusions
- Waiting period requirements
- Deductible type (per-incident or annual)
- Reimbursement percentage
- Co-pay amounts
- Pre-existing condition rules
- Required documentation
- Filing deadlines (often 30–90 days)
Knowing these rules helps you submit the correct information from the start.
Step 2: Request an Itemized Invoice From Your Veterinarian
Your pet insurer will require a detailed, itemized invoice showing:
- Clinic name, address, and phone number
- Date of service
- All procedures and tests performed
- Diagnosis or symptoms
- Total amount paid
- Proof of payment
Ask the vet staff to provide medical records as well—many insurers will request these before approving the first claim.
Step 3: Gather Necessary Medical Records
Depending on the claim, you may need:
- SOAP notes (veterinary medical notes)
- Lab results
- Imaging reports
- Treatment plans
- Prescription information
If it’s your first claim, the insurer may request past records from previous vets to confirm that the condition is not pre-existing.
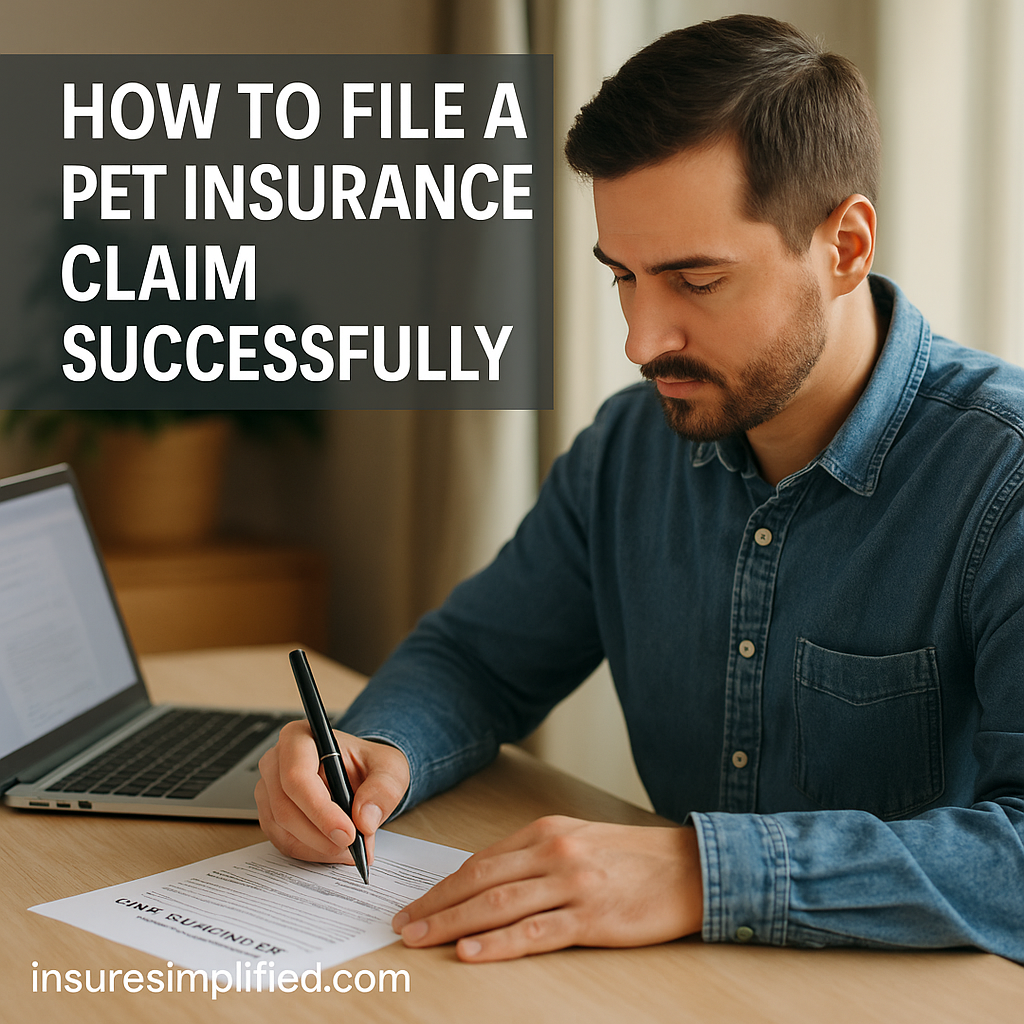
Step 4: Complete the Pet Insurance Claim Form
Most insurers provide a form you can download from your online portal or app. Fill out:
- Your pet’s name and policy number
- Reason for the visit
- Description of symptoms
- Vet clinic information
- Whether this is a follow-up or new issue
- Whether the vet should be paid directly or reimbursement should go to you
Some insurers allow the veterinarian to complete part of the form—others do not require it.
Step 5: Submit Your Claim With All Documents Attached
Upload or attach:
- Itemized vet invoice
- Medical records (if required)
- Completed claim form
- Photos of medications or discharge instructions (if helpful)
Claims can usually be submitted via:
- Online portal
- Mobile app
- Mail (slowest method)
Online or app submissions receive the fastest processing and updates.
Step 6: Wait for Review and Respond to Additional Requests
The insurer’s claims team will:
- Verify eligibility
- Check for pre-existing condition exclusions
- Confirm invoice details
- Validate medical records
They may request:
- Additional vet notes
- Prior medical history
- Clarification from the veterinarian
- Updated proof of payment
Responding quickly keeps the claim moving.
Most claims are processed in 3–15 business days depending on the insurer.
Step 7: Receive Reimbursement
Once approved, payment is typically sent through:
- Direct deposit
- Mailed check
- Payment directly to the veterinary clinic (if supported)
Your reimbursement amount will reflect:
- Deductible
- Reimbursement rate (70–100%)
- Co-pay
- Policy limits
Review the insurer’s Explanation of Benefits (EOB) to understand how the final amount was calculated.
Why Pet Insurance Claims Get Denied
Avoid delays by being aware of common denial reasons:
- Pre-existing conditions
- Condition occurred during waiting period
- Missing or incomplete medical records
- Invoice lacks itemization
- No proof of payment
- Incorrect or incomplete claim form
- Treatment not covered by the policy
- Filing after the deadline
These issues are preventable with proper documentation and timely submission.
Tips for Filing Pet Insurance Claims Faster
- Always ask for itemized invoices
- Save every record from every vet visit
- Submit claims immediately after the appointment
- Keep all vet clinics updated with your insurance requirements
- Use your insurer’s mobile app for faster processing
- Track receipts for medications and supplements
- Maintain a personal folder with your pet’s medical history
The more organized you are, the easier each claim becomes.
Final Thoughts
Filing a pet insurance claim successfully requires thorough documentation, clear communication with your insurer, and quick submission after each vet visit. Whether your pet needs emergency care or routine treatment, following these steps ensures you get reimbursed efficiently. With the right approach, your pet insurance policy can significantly reduce financial stress and help you focus on what matters most—your pet’s health.